Mastering Trail Cameras: Cell Cams, Smart Placement, and Buck Patterning
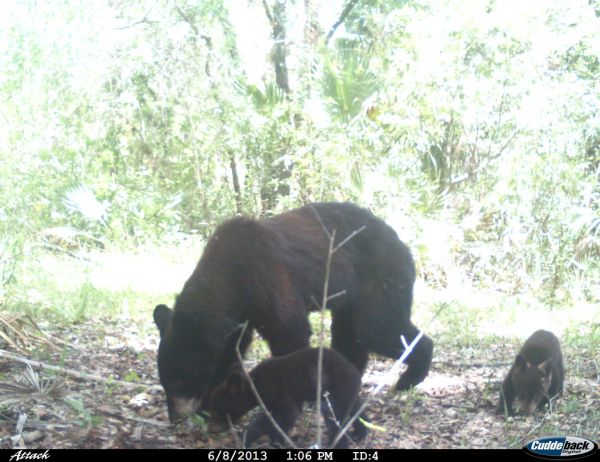
Cellular trail cameras let you check activity from anywhere with a signal, so you can stay on top of your pressure without trekking back to a remote stand. Choose a model with a reliable 4G connection, decent battery life, and a clear night vision sensor, then set up a simple email or app alert so you know when a buck shows up.
Placement is half the battle. Aim the lens at a natural travel corridor such as a game trail, a water source, or a feeding area, and keep the camera low enough to capture the full body of a buck but high enough to avoid ground clutter. Angle the camera about 30 degrees off the trail to get a side profile, which makes it easier to read antler size and age. Use a sturdy tree or a camouflaged pole, and secure it with a lock to deter theft.
Mature bucks have predictable patterns that you can map with your camera data. Look for repeat visits to the same spot during early morning or late evening, and note the direction they travel. Bucks often use a “home range” of 2 to 4 miles, so a network of three to five well‑spaced cameras can reveal the core of that range. When you see a buck hitting the same camera multiple times, mark that location as a prime stand spot.
Finally, feed the images into a simple spreadsheet or a free wildlife app. Log date, time, weather, and any visible antler growth. Over weeks you’ll see trends - for example, a buck may shift to a different trail after a heavy snowfall. Adjust your stand placement and hunting schedule accordingly, and you’ll increase your chances of a successful, ethical harvest.